Don’t Just Caption — How to Use ASL Recordings the Right Way
From script prep to editing, learn how to use ASL recordings for videos that feel seamless, clear, and respectful to your audience’s communication needs.
Table of Contents
If you’ve ever tried adding an ASL video overlay, you’ve probably realized it’s not as simple as placing another clip on top.
From timing to layout, there are details that really matter — especially when your goal is true accessibility.
If you’re just starting out or looking to improve what you already have, this guide will help you use ASL recordings for videos effectively. You’ll learn how to plan and record with purpose, and how inserting ASL into pre-recorded content with an ASL video overlay can make your message more inclusive, accurate, and engaging.

Getting Ready Before You Hit Record
Good planning saves time and prevents technical headaches. Above all, it ensures that your final ASL-integrated video looks polished and professional.
Here’s exactly what you need to think about before you start recording:
1. Finalize your main video content first
You cannot create an accurate ASL recording until your main video content — spoken words, music, visuals — is done.
- Finish editing your main video, including the spoken script, narration, and timing.
- Export a reference video with a final timecode. Use an MP4 format, H.264 codec, and 720p or 1080p resolution for easy handling.
For example, if you have a 10-minute marketing video, export it as "Video_Final_Reference.mp4" so the interpreter can work with exact timings. 2. Preparing a script and visual cues for the ASL Interpreter
Interpreters need not just the words but also emotional tones and timing cues.
- Provide a clean, word-for-word script of the video’s spoken content.
- Mark pauses, emotional tones, or special emphasis, for example, “serious tone” or “excited tone”.
- Include notes about visuals if important, for example, “product appears” or “graph explanation starts”).
Here is an example to illustrate the above rules: If your video says, “Our journey started in 2010…” (with nostalgic music), the script should mark “nostalgic tone” to help the interpreter match the feeling.
3. Selecting a professional ASL interpreter
Not every interpreter is trained for on-camera work.
- Hire a RID-certified (Registry of Interpreters for the Deaf) interpreter with video experience.
- Ask for demo reels showing them interpreting for recorded content.
- Discuss technical aspects beforehand, asking questions such as: “Can they self-record in high-quality?” or “Do they have access to proper recording equipment?”
Local Deaf Services agencies, specialized interpreters on freelance platforms, and professional ASL service agencies are your options for adding ASL inserts into pre-recorded videos.
4. Planning the technical recording setup
This is critical because the interpreter recording must match the frame, lighting, and resolution standards required for clean integration into your final video.
For a clean, professional ASL recording, aim for a resolution of 1080p (Full HD) or higher, with a framerate of 30 frames per second to ensure smooth motion.
Use a solid background—gray, blue, or green are common choices that help keep the focus on the interpreter.
Make sure the lighting is even and from the front, avoiding any harsh shadows that could obscure facial expressions or hand movements.
- Use a medium shot. Set it from waist or mid-chest up, keeping hands in frame at all times. A digital single-lens reflex (DSLR) camera is better than a webcam.
- Centered camera framing. Interpreter should be centered horizontally in the frame.
- Lighting. Place two softbox lights angled at 45° to eliminate facial shadows.
- Space. Leave extra margin around the interpreter for cropping or resizing during editing.
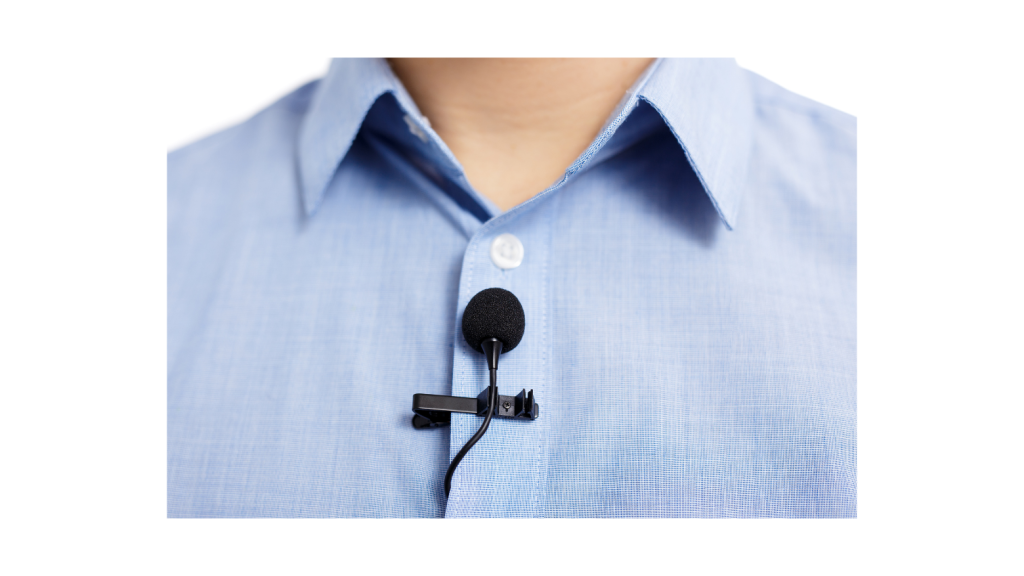
Finally, record in crisp ambient silence, even if the interpreter’s audio won’t be used in the final video—this helps maintain overall video quality and editing flexibility.
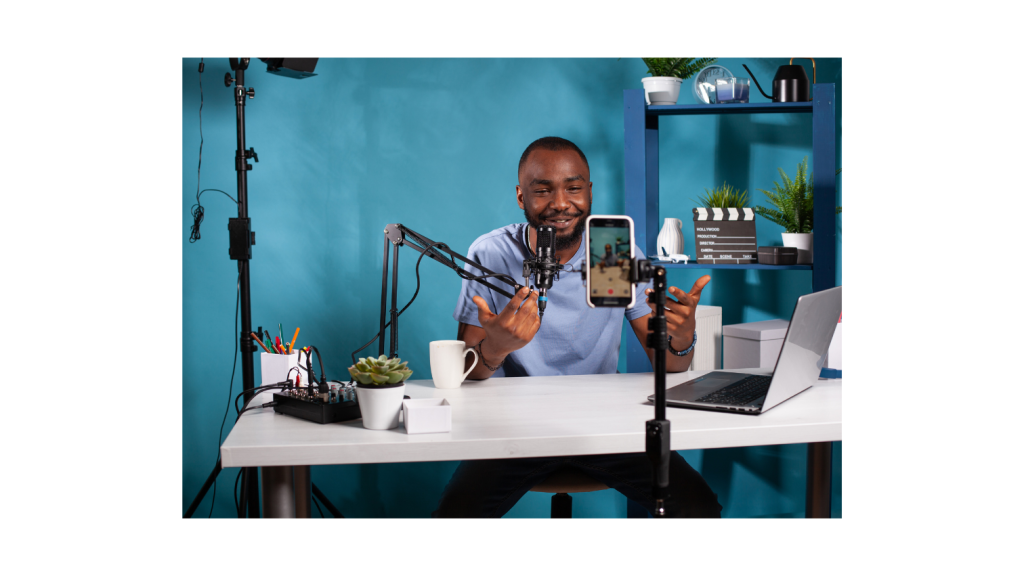
5. Recording the interpreter: Methods
You have two main options:
Professional Studio Setup
The ASL interpreter goes to a studio for professional recording. This option is best for polished videos required for corporate purposes, official government settings, or e-learning. However, the highest quality comes at a higher cost.
Remote Interpreter Self-Recording
The interpreter records from home using their setup. You can assist with technical instructions.
To avoid mistakes, always do a short 30-second test recording and review it before proceeding with the full session.
6. Instructing the interpreter for synchronization
Since you will overlay or insert their recording into your final video, timing matters.
Play the reference video in their earpiece while recording, so they sign in real-time along with the audio.
Use visual timestamps or a click-track if needed to maintain perfect pacing.
7. File delivery and format
The required file format for editing is MP4 or MOV, a H.264 codec, and no compression artifacts. Obtain a separate audio track if recorded.
Don’t forget to check the following before you move into video editing:
- Has the interpreter’s video been reviewed for framing, lighting, and resolution?
- Are all gestures and expressions clearly visible?
- Does the ASL recording match the spoken word timing in the reference video?
- Is the file format compatible with your video editor (Premiere Pro, Final Cut, DaVinci Resolve)?
Even if you’re not recording the inserted ASL video yourself, getting familiar with planning the recording session can help you get all the necessary answers from a professional ASL interpretation agency that works with ASL video overlays.
Making the ASL Recording Look and Feel Right
Once the planning is done, it’s time to record the interpreter’s video — the foundation you’ll later insert into your final production.
1. Setting up the recording environment
Environment matters hugely. Bad lighting, cluttered backgrounds, or poor audio will ruin even a perfect interpretation.
Set up your space so it’s clean and distraction-free.
Use a solid background — blue, gray, or green works well. Light the interpreter with two softbox lights at 45-degree angles, and if you can, add a soft overhead fill.
Mount the camera on a tripod at eye level, so everything stays steady and natural.
Choose a quiet, carpeted room to reduce echo. And keep the interpreter about three to four feet from the lens — close enough for clarity, but with enough space to move.
2. Framing the shot properly
Your framing should allow full visibility of the interpreter’s hands and facial expressions at all times. Frame from mid-chest to slightly above the head.
Center horizontally. Leave 10–15% extra margin around the interpreter for flexible editing. This is in case you need to reposition inside the main video later.
A real ASL interpreter brings more than just language—they bring empathy, presence, and cultural competence. They can:
- Interpret tone, sarcasm, urgency, and emotion
- Read the room and adjust accordingly
- Ensure communication is respectful and accurate in sensitive settings like healthcare, legal proceedings, or education
3. Equipment Recommendations
Use a heavy-duty tripod to prevent shaking. Optionally, you can use teleprompter apps synced with the script for smoother flow.
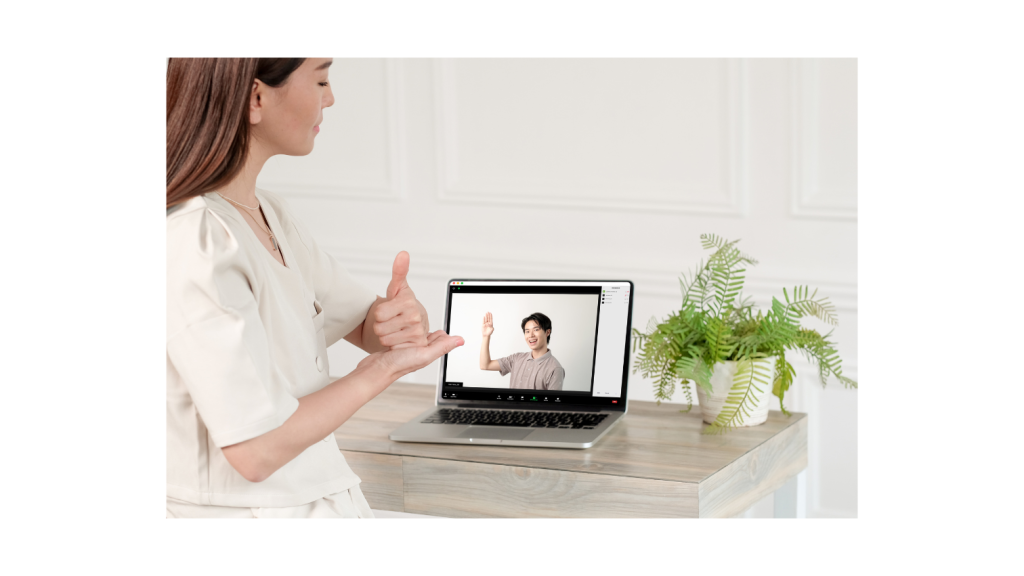
4. Synchronizing the interpretation during recording
The interpreter must sign in sync with the original spoken content, so you can seamlessly overlay it later without noticeable delays. The two best methods are using earpiece playback or on-screen timestamps.
Earpiece Playback
Play the reference video into the interpreter’s earpiece at low volume. The sign language interpreter signs while listening — perfectly synced. Set playback to 90–95% normal speed if the interpreter prefers slightly slower pacing.
On-Screen Timecode Reference
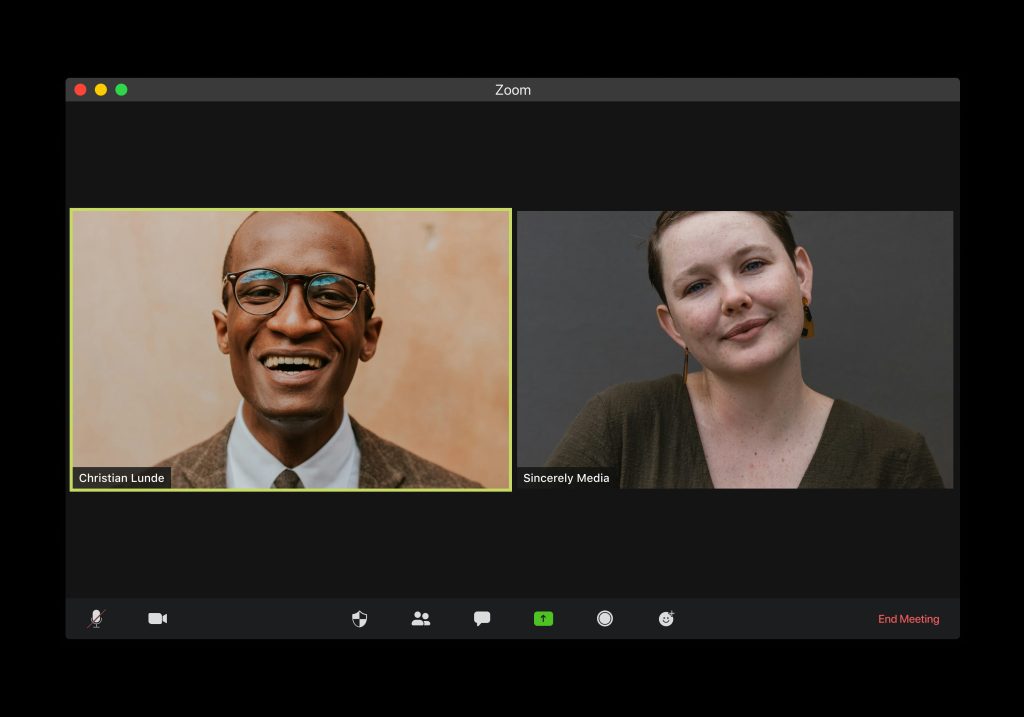
Display the reference video next to or below the camera lens. For example, use a dual screen or monitor. Timestamps can help the interpreter track exact moments visually.
A simple software example that can help you create split-screen videos is Zoom with shared video and local recording.
5. Performing the recording
Before initiating the recording, do a small technical test.
Record for 30 seconds, and check lighting, framing, and audio. Are the interpreter’s hands fully visible? Is there background noise? Is the contrast between clothing and background correct?

The interpreter should maintain a consistent signing speed across the video. Pay attention to sudden fast or slow sections and rerecord when required.
6. Backup and delivery
Once recording is finished, make two backups.
Keep one on your external hard drive and upload a cloud backup like Google Drive or Dropbox. If you’re not doing the video editing yourself, send the complete file to the video editor using a reliable file transfer. WeTransfer is an option for large files.
Always send the highest quality original file, not a compressed version, to preserve clarity when inserting into the main video.
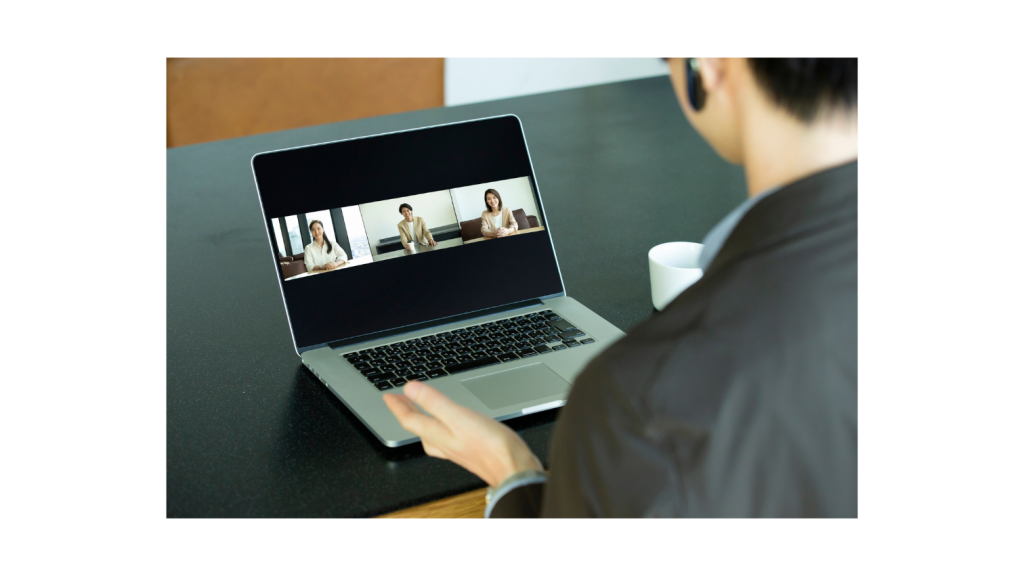
Overlaying ASL in Your Video Without Getting Lost
Now that you have your ASL interpreter video recorded, it’s time to combine it with your main video.
There are two simple ways to do this: Picture-in-Picture overlay (PiP) or Split Screen.
Here’s how to set it up without getting lost in complicated editing steps.
1. Choosing the right layout
Option 1: Picture-in-Picture (PiP)
- The ASL interpreter appears in a small box, usually located in the bottom right or bottom left screen corner.
Best when the main visuals, such as slides, graphics, and faces are important to keep large.
Option 2: Split Screen
- The video is divided into two equal parts: one side for the main video, one side for the interpreter.
Best when accessibility is the top priority, for example, for ASL educational videos.
If you’re unsure about your best, start with PiP — it’s more common and easier to set up.
2. Simple steps to insert the ASL Video
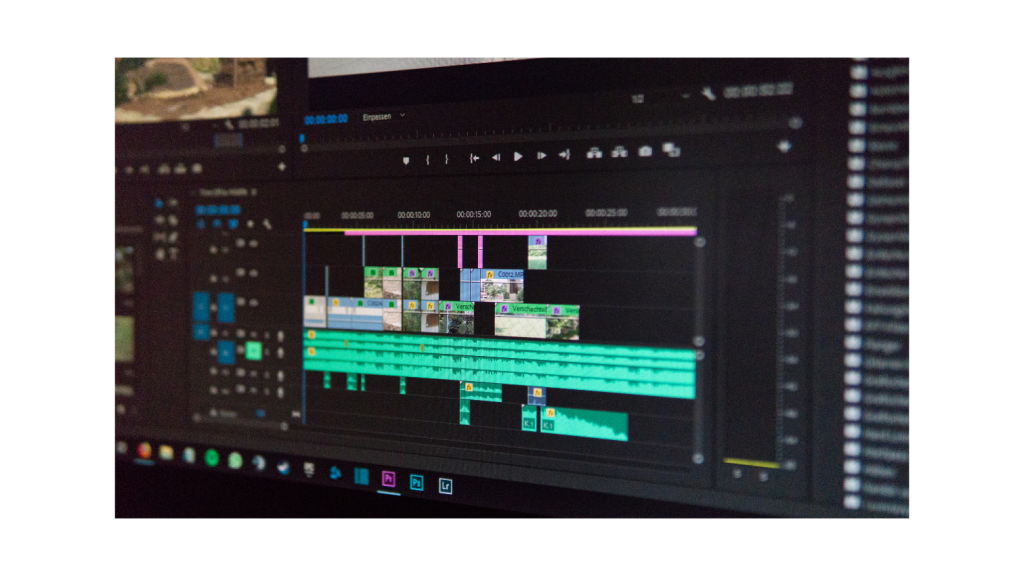
Here’s the basic process, no matter which editing software you’re using:
Step 1. Import both videos
- Open your editing program (Premiere Pro, Final Cut, CapCut, DaVinci Resolve, etc.).
- Create a new project.
- Import your main video.
- Import your ASL overlay video
Step 2. Add the main video to the timeline
- Drag and drop the main video onto the main timeline (Track 1).
Step 3. Add ASL video to the timeline
- Drag the interpreter video onto a track above the main video (Track 2).
Step 4. Resize and reposition the ASL video overlay
- Select the interpreter clip.
- Look for the ‘Scale and Position’ controls:
- Scale down the interpreter window to about 20–30% of the screen size.
- Move the window to a corner (bottom right is most common).
For instance, here is the step-by-step process in Premiere Pro: → Effect Controls → Motion → Scale and Position.)
Step 5. Fine-tune the timing
- Make sure the interpreter’s signing lines up with the spoken words.
- Adjust start or end points if needed so they match perfectly.
Step 6. Add a border (Optional)
- You can add a small white or black border around the interpreter window to make it stand out.
- Some software has a “Stroke” or “Outline” effect you can apply.
3. Quick tips for best results
- Consistency. Keep the interpreter box in the same position and size across the video overlay.
- Visibility. Make sure the interpreter doesn’t block important visuals, such as slides, titles, and people’s faces.
- Clear background. If the interpreter has a green or blue background, you can use a simple Chroma Key (remove background effect) if you want a floating look. Otherwise, keeping the solid background is perfectly fine.
4. Exporting the final video
After inserting and adjusting the ASL video, use the following settings for exporting:
- Format: MP4 (best for web)
- Resolution: 1920×1080 (Full HD)
- Bitrate: High (at least 12 Mbps for clarity)
- Frame Rate: 30 fps (matches recording)
Always preview the final export before publishing to make sure syncing, visibility, and video quality are all good.
5. Captions
Even if you include ASL interpretation, it’s important to add captions as well. Captions help not only Deaf and hard-of-hearing viewers but also people in noisy environments or those who prefer reading.
Make sure your captions are accurate, properly timed, and include relevant sound descriptions (like [music playing] or [laughter]) to give full context.
Including both ASL and captions ensures your video is accessible to a wider range of viewers with different preferences and needs.
Conclusion
Creating ASL-integrated, captioned video content is a powerful step toward accessibility.
However, the process can also be time-consuming and technically challenging for first-timers.
From syncing interpretation to managing edits and export settings, small missteps can lead to hours of rework. The worst-case scenario is when the final product doesn’t serve its intended audience.
That’s why many organizations choose to partner with professional agencies that specialize in accessibility and ASL video services.
Working with experienced teams can save you time, reduce stress, and ensure that your content is accurate, respectful, and ready to make a real impact.
Thinking about adding ASL or captions to your videos?
If this feels a bit overwhelming or time-consuming, you’re not alone.
We’ve helped many organizations find simple, effective ways to make their content more accessible — without getting stuck in technical details.
If you’d like to talk through your options or ask a few questions, feel free to reach out.
We’re happy to help.
Our Latest Resources


Request A
Call Back
Request A Call Back
Do you have additional questions?
Click here to meet your dedicated Client Relationship Manager.